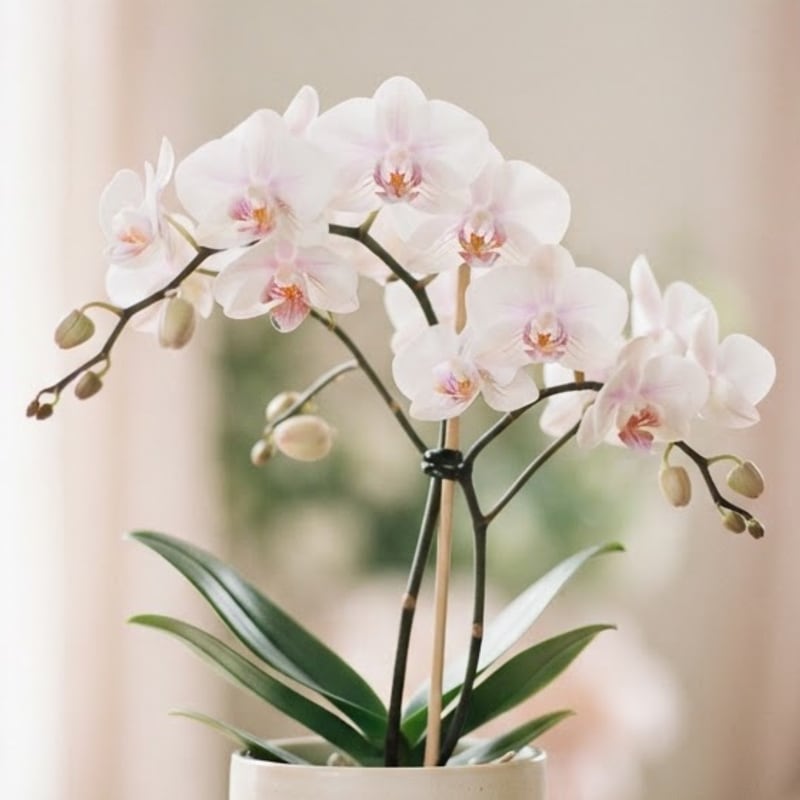
Orchids in the shops usually come in a tight clump of moss or a pot of fine, packed material. That works for a few months. After that, the mix breaks down, holds too much water and the roots start to suffer. Repotting fixes it, and it is easier than it looks.
This guide focuses on phalaenopsis, the common “moth orchid” sold in most grocery stores and garden centres.
When to repot
The best time is after the flowers have fallen, when new roots or leaves begin to grow. For most people in Canada this falls in late winter or spring. Repot sooner if you notice any of these:
- The bark has broken down into soft, dark crumbs.
- Roots are brown, mushy, or the mix stays wet for more than a week.
- The plant is wobbly because roots have grown up and out of the pot.
- It has been two years since the last repot.
Do not repot just because the roots are growing into the air. Phalaenopsis roots do that naturally. Green or silver roots above the mix are normal.
What you need
- A new pot, just a little bigger than the root ball (usually 2 to 3 cm wider, or the same size if the roots have been trimmed). Clear plastic with drainage holes is a good choice.
- Fresh bark-based orchid mix.
- Clean scissors or pruning shears. Wipe the blades with rubbing alcohol before you start.
- A bowl or sink for rinsing.
Step by step
- Take the plant out. Squeeze the pot gently and slide the orchid out. If roots are stuck to the pot, cut the pot away rather than pulling.
- Remove the old mix. Shake off what falls away and pick out the rest with your fingers. Rinse the roots with lukewarm water to see what you are dealing with.
- Check the roots. Healthy roots are firm and green or silvery. Dead roots are brown or black, and mushy or papery thin.
- Trim. Cut away dead roots and any yellow, dead leaves at the base. Wipe the scissors between cuts if a root looks diseased. Leave the healthy ones, even if they are long.
- Set the plant in the pot. Hold it so the base of the lowest leaf sits just at the rim, with roots pointing down into the pot.
- Add the mix. Pour mix around the roots, tapping the pot on the counter so it settles into gaps. Poke it in with a chopstick if needed. Do not pack it hard.
- Check the depth. The base of the plant should sit at or just above the surface. Do not bury the crown, as water sitting there can cause rot.
- Support the plant. If it wobbles, tie the flower spike or leaves to a small stake until new roots anchor it.
Watering after repotting
Orchid roots are often damaged during repotting, even when you are careful. Many growers wait a few days to a week before the first watering, then water thoroughly and let the pot drain. Some people soak the bark in water for a while before potting instead. Both approaches work. Pick one and stay consistent.
After that, water when the mix is nearly dry and the roots inside a clear pot look silvery. For many homes that is about once a week, but it depends on warmth and humidity. Never let the pot sit in standing water.
Because the mix has no fertilizer, you will need to use an orchid fertilizer at a diluted strength while the plant is growing.
What to look for in an orchid mix
Orchids that grow on trees need air first and water second.
- Mostly medium bark, with pieces roughly 1 to 2 cm.
- Perlite for drainage.
- A little charcoal and coco chips to hold some moisture.
- No fine soil or dense peat.
You can buy bulk bags of bark, perlite and charcoal and mix them yourself, which is a sensible choice if you grow many orchids. For one or two plants it means carrying home large bags that will take up room for years.
To work out how much you need, use the “How much do I need?” calculator on the mix page. Enter your pot diameter and it tells you litres and bags.
Common mistakes when repotting orchids
Using a pot that is too large is the first. A big pot holds a lot of damp bark, and the roots stay wet. Choose a pot that fits the roots with a little room to spare.
Cutting healthy roots is the second. Long, green or silver roots that stick out of the pot are fine. Only remove roots that are dead.
Burying the crown is the third. If water sits where the leaves meet, rot can set in quickly. If water does collect there after watering, dab it away with a paper towel.
Finally, do not put bark in the pot dry and then water so lightly that the bark never really gets wet. Dry bark repels water at first. Water slowly and thoroughly until it runs out of the bottom, or soak the bark beforehand.
What to do with the flower spike
If the spike is still green after flowering, you can cut it just above a node (one of the small bumps on the stem), and the plant may bloom again from that point. If it has gone brown and dry, cut it near the base. Wait on this until after repotting is done, so the plant is not stressed in two ways at once.
Orchids that are not phalaenopsis
Cattleya, dendrobium and oncidium also grow well in bark-based mix, but they often prefer a smaller pot and more frequent drying out. Check what your specific orchid needs before you repot.
The matching mix
Our Orchid Mix is 70% medium fir bark, 15% perlite, 10% horticultural charcoal and 5% coco chips, in a light 3-litre bag. It is for phalaenopsis, cattleya, dendrobium and oncidium, and not for plants that grow in soil. We ship by Canada Post across Canada, except Quebec for now. See shipping for rates.
If you are choosing soil for other plants, see our guide to the best soil for indoor plants.